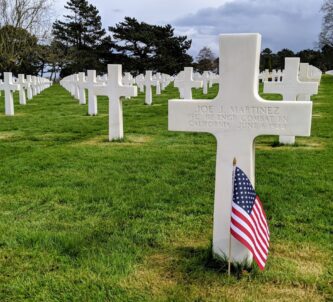
The five bridges over the river Dives marked for destruction by Allied airborne forces on the night of 6 June 1944 are rarely visited these days, but they were crucial to securing the eastern flank of the D-Day landings.
So it’s definitely worth exploring the area to get an understanding of the dangers faced in the middle of the night by the widely scattered, and often hopelessly lost, airborne paratroopers and sappers who were tasked with their demolition.
D-Day Normandy Posts
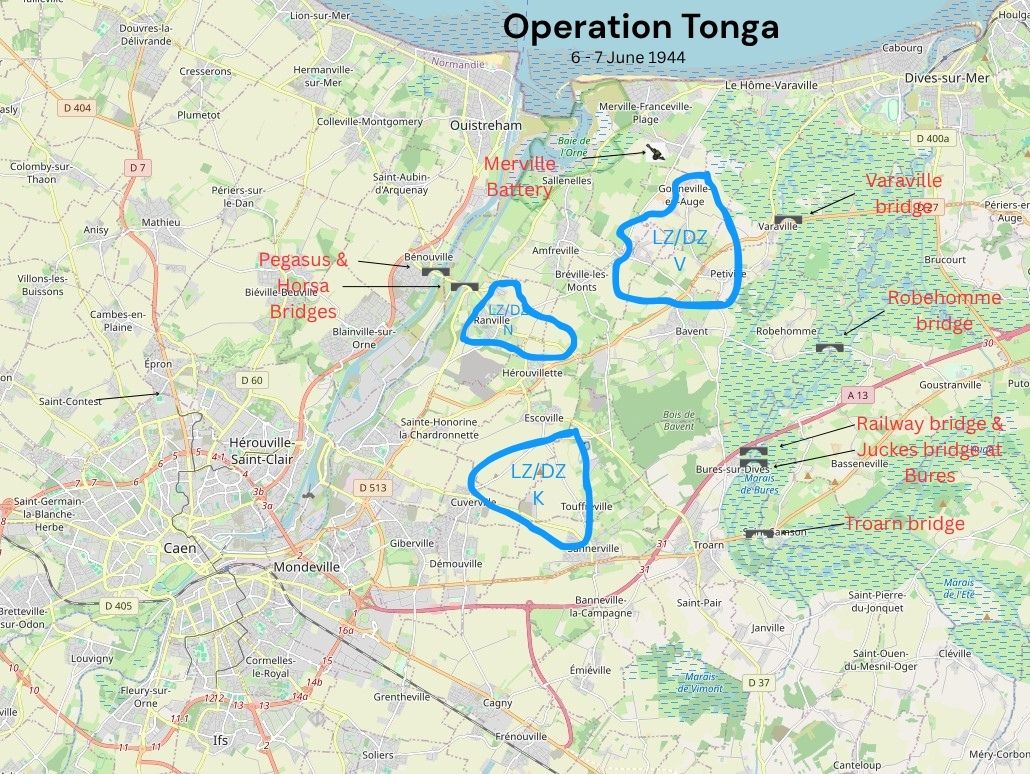
Operation Tonga
There were three main objectives for Operation Tonga, the British 6th Airborne Division’s mission in the early hours of D-Day…
- Capture the bridge over the Orne Canal at Bénouville and its neighbouring bridge over the Orne river.
- Assault the German artillery battery at Merville
- Blow-up the five crossings over the river Dives and Divette
Everybody knows the famous glider-borne attack by Major John Howard and his men on the Orne canal bridge, which opened hostilities at 00:16 on D-Day. The bridge, of course, is now called ‘Pegasus Bridge’ and the memorial museum (together with the Café Gondrée) are among the most visited sites in Normandy. Not quite so well-known is ‘Horsa Bridge’ 520 metres away over the Orne river. The road is quite busy and it’s difficult to park nearby if you want to see the memorial plaques*. So it is not often visited.
Interestingly, the Merville Battery**, now a major D-Day memorial museum, is also not visited as much as it deserves. I think that’s because it sits up on the heights between the eastern bank of the Orne and the Dives river marshlands. So although it’s only a 10-min drive from Pegasus Bridge, it’s in the wrong direction for most battlefield explorers who head west along the D-Day beaches.
The Dives river bridges are even further away on the other side of the heights and there’s not a lot to see except for a few small memorials – after all, the original bridges were demolished!
The 6th Airborne experience on D-Day
In contrast to the glider assaults on Pegasus & Horsa bridges, the bulk of 6th Airborne’s parachute and glider drops that night were a bit of a mess.
Many, if not most of the paratroopers and gliders landed in the wrong place, for a number of reasons: the winds were quite strong; it was cloudy; inexperienced transport pilots were thrown by their first encounter with heavy flak and were reluctant to slow down in order to drop their paratroopers***; navigation was weak, not all aircraft had radio direction finding equipment; and pathfinders who were meant to mark the drop or landing zones (DZ/LZ) went missing or ended up in the wrong place. The situation was not improved when the RAF bombed the Merville battery in a ‘warm-up’ attack, throwing huge clouds of smoke and debris up into the sky just as the transport, tug and glider pilots were approaching.
The result was almost a disaster for Major Otway leading the 9th Parachute Battalion, who was to assault the Merville Battery. His 600 men with all their equipment were scattered all over the place. He waited as long as he could for his men to gather but was forced to attack with just 150 men and hardly any of the gear he wanted, like flares to illuminate the battery, or bangalore torpedoes to break through the extensive barbed wire defences. Spoiler: despite this he was successful.
The same problems were to dog the teams designated to blow up the Dives bridges.
The Dives runs north through extensive marshlands to emerge on the coast at Cabourg. Back in 1944 there were few roads and, as in the US sector around Carentan, the Germans had flooded the marshlands as a defence measure. From just east of Caen following the river north towards the coast at Caborg, there were only five inland crossing points…
- The road bridge outside Troarn
- The road bridge at Bures-sur-Dives
- The rail bridge at Bures-sur-Dives
- The road bridge outside Robehomme
- The road bridge at Varaville (which was on the Divette, a tributary of the Dives)
They were supposed to be attacked by Canadian and British Airborne battalions with Royal Engineer demolition teams attached. However their missions struggled right from the start.
For example, Major C.A.’Tim’ Roseveare, commanding 3 Para Sqn Royal Engineers, was charged with destroying the bridges at Troarn and Bures with the 8 Parachute Battalion. He and his men and their equipment should have landed at LZ/DZ K, nearest to their objectives. But, they found themselves mostly scattered around LZ/DZ N. His boss, Lieutenant Colonel Alastair Pearson, commanding 8 Para, did land on LZ/DZ K but many of his men, failed to arrive with him.****
Quickly, as pre-dawn deadlines loomed, the airborne troops began to sort themselves out and make their own arrangements. Major Rosevear gathered Captain T.R. Juckes, OC No. 2 Troop, plus a number of junior officers and 60 sappers equipped with plastic explosives and 25lb arched demolition charges. He also collected around 20 of Pearson’s missing paratroopers, before setting off via Hérouvillette and Escoville toward their objectives. Just past Escoville they split up. Captain Juckes headed for the bridges at Bures. Major Rosevear commandeered a jeep and trailer and headed for Troarn.
Further north, the bridges at Robehomme and Varaville were assigned to the Canadian 1st Parachute Battalion, under the command of the 3rd Parachute Brigade of the British 6th Airborne Division, who were to land on DZ/LZ V. They were accompanied by sappers from 3 Para Sqn Royal Engineers.
C Company under Major H.M. MacLeod was to secure the DZ, destroy the radio station at Varaville, and blow the bridge over the Divette.
B Company under Major C. Fuller was to destroy the bridge over the Dives at Robehomme and then guard the area until ordered to withdraw.
As with the other airborne forces that night, the Canadians and their Royal Engineer sapper teams, are scattered mostly outside their drop zone, but they begin to gather themselves and make their way to their targets.
The Bridges
Troarne Bridge
(W3W: ///mention.versatility.resonated)
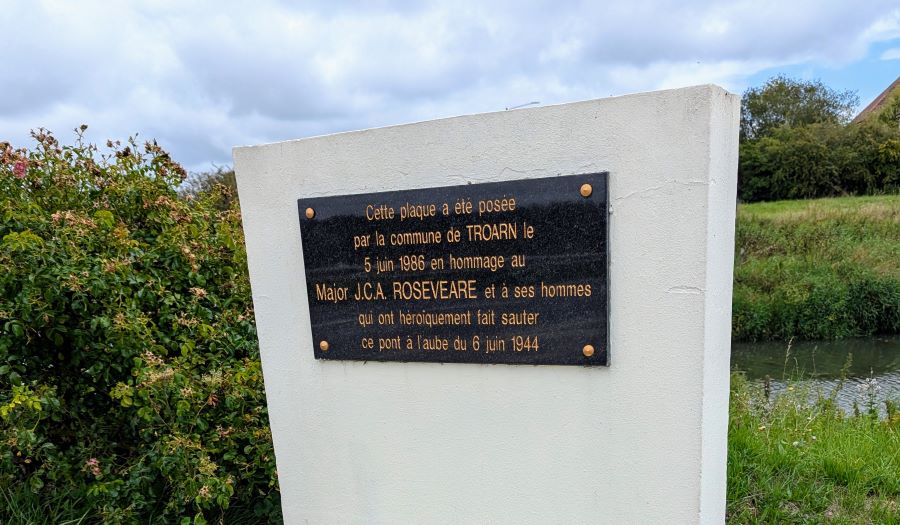
The bridge at Troarn was quite a structure. It was a heavy stone bridge with five arches spanning 33.5 metres (110ft). To get to it, Major Roseveare and his men had to drive their jeep and trailer at speed, firing their sten guns and single bren, through the village of Troarn which was occupied by approximately 200 Germans. As they careered down the hill to the bridge they lost their bren gunner, Sapper Peachey who got bounced off the trailer and later captured.
When they got to the bridge they quickly set up their charges and blew the central (largest) arch, leaving a 5.5m breach. They left the scene heading north towards Bures rather than go back through Troarn.
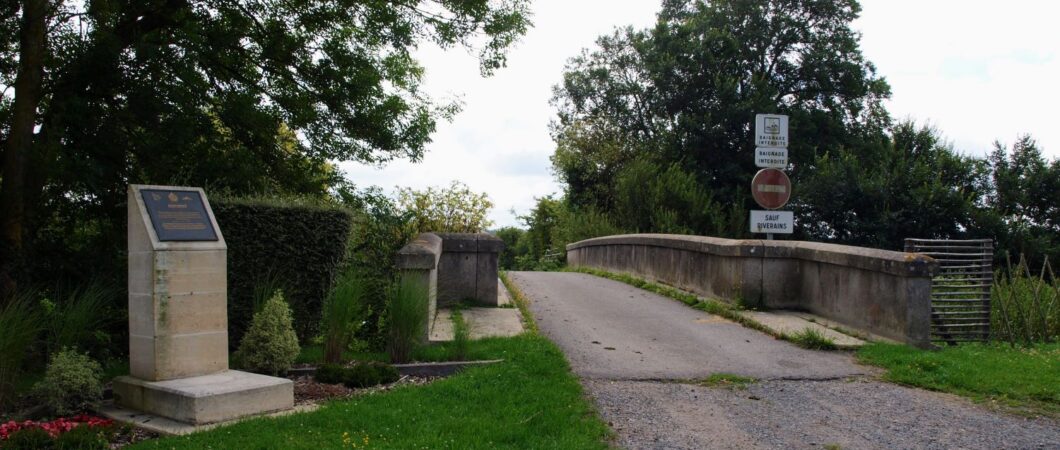
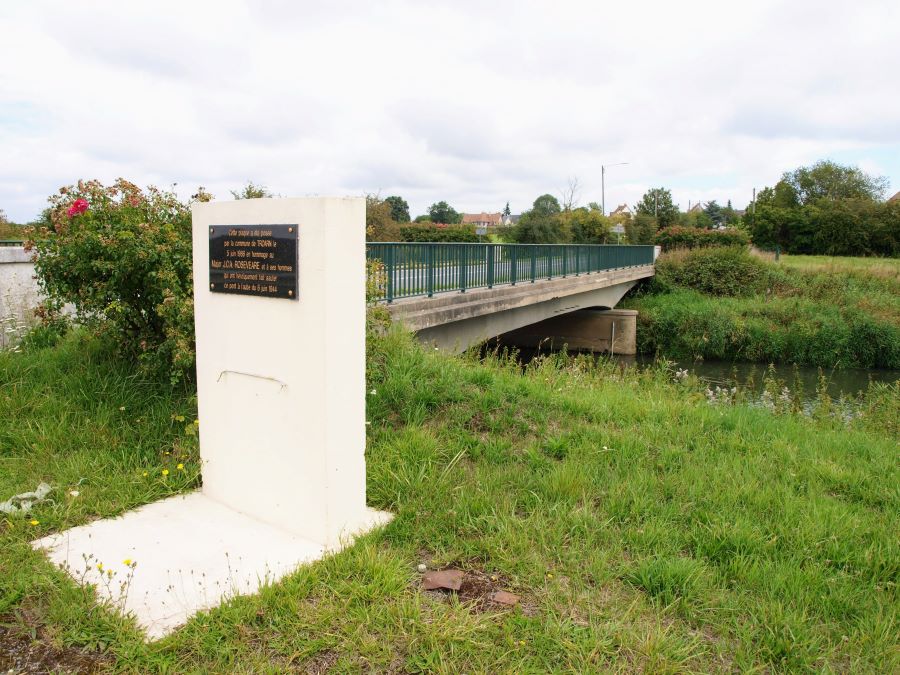
Today’s bridge is not a magnificent medieval stone arched bridge, but a rather mundane single-span steel and concrete bridge instead. There is a memorial marker stone on the west side.
Bures-sur-Dives Road Bridge, aka ‘Juckes Bridge’
(W3W: ///sing.interiors.carries)
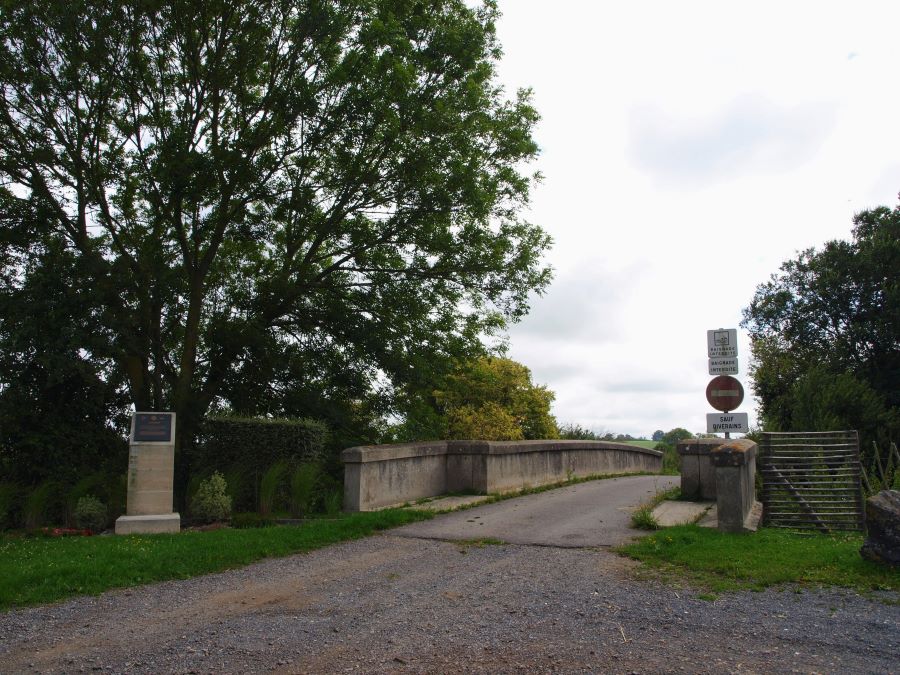
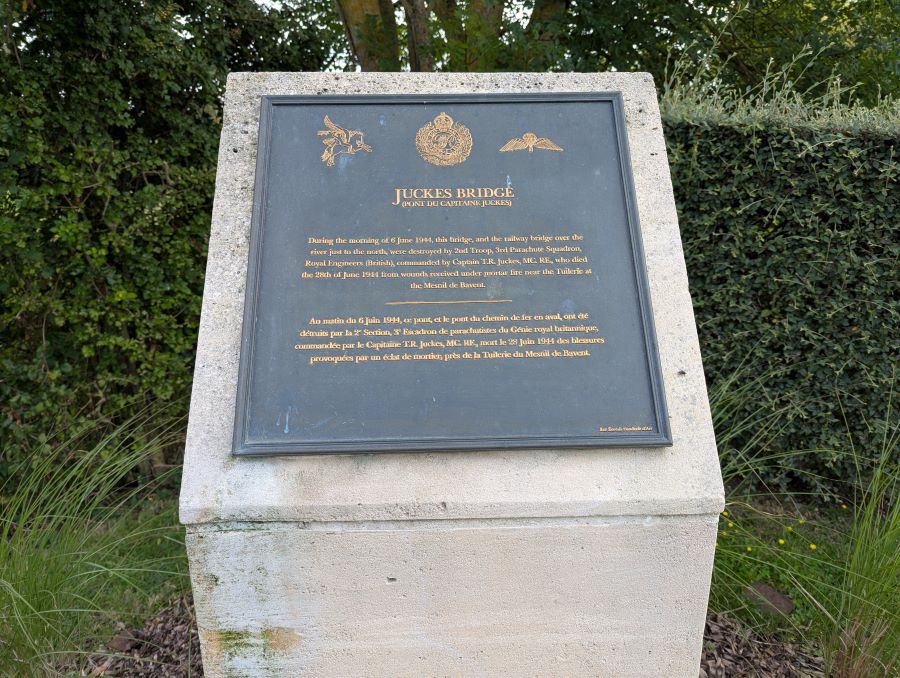
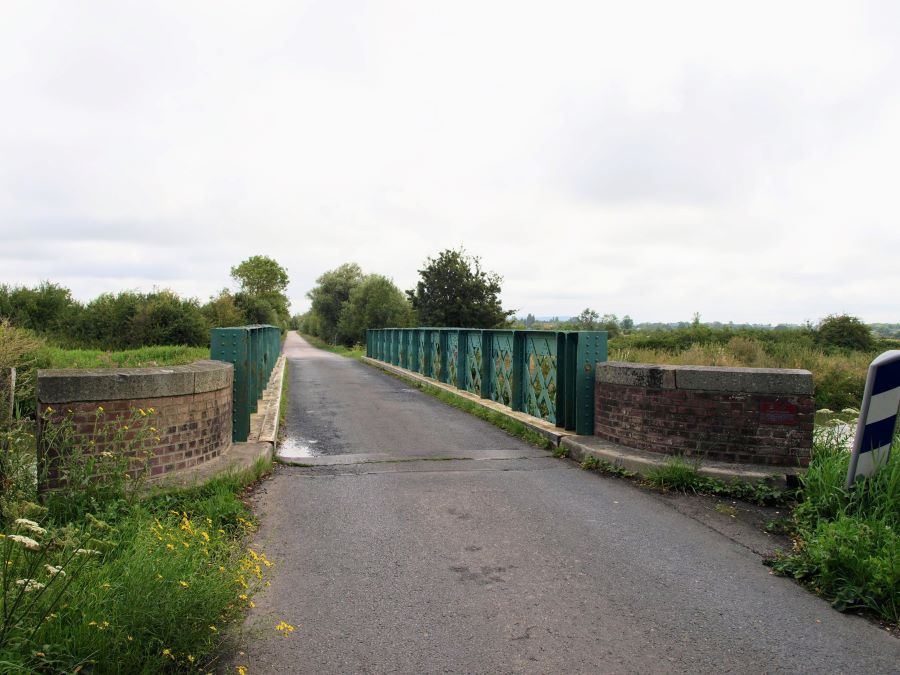
In 1944 the road and rail bridges at Bures were both 25m steel lattice girder bridges, and as such didn’t require the heavy charges needed for the bridge at Troarn. Plastic explosives would suffice. Captain Tim Juckes and his team of sappers arrived unopposed at the road bridge at 0630. The bridge served a farm and there was a small delay blowing it up because the farmer wanted to bring his cattle back from the other side before they destroyed it!
Meanwhile Juckes sent half his team 400m down stream to deal with the rail bridge. Both bridges were demolished by 09:30.
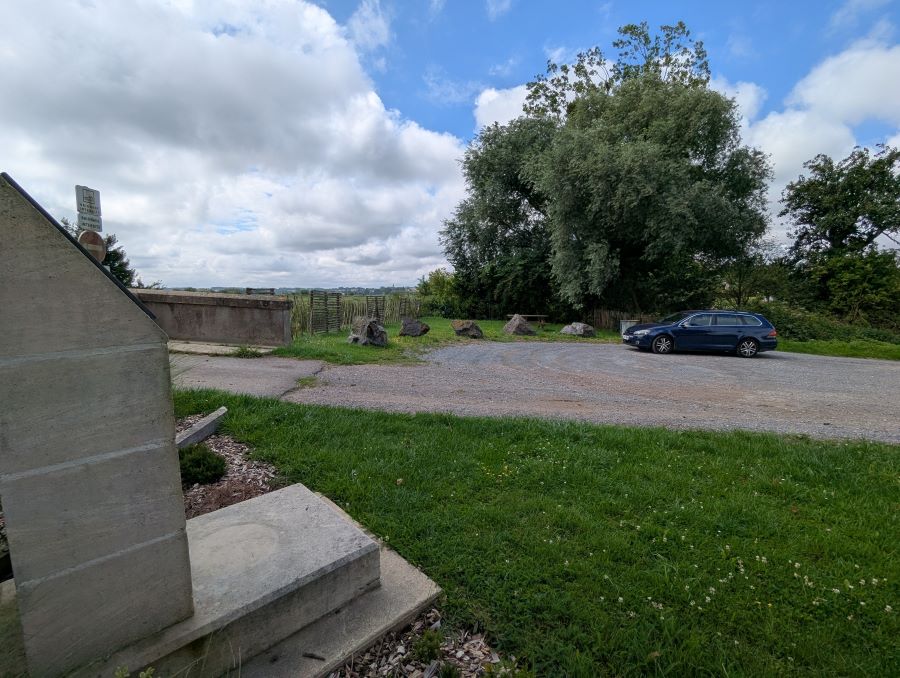
Now ‘Juckes Bridge’ has a large stone marker, a parking area and a picnic table, so it’s a quiet spot to take a break on your tour.
Bures-sur-Dives Railway Bridge
(W3W: ///dripping.packet.compute)
The railway track and bridge were torn up years ago. As a result there’s nothing to see here. There’s just the roar of traffic from the A13 dual-carriageway built 100m away.
Robehomme Bridge
(W3W: ///flatland.lunches.submerging)
After landing, it took a while for Major Fuller to assemble as many of his men as he could. And then they found it hard work getting through the marches to find the bridge. It is quite remote, lying a kilometre from the little island village of Robehomme. (Use Google Streetview to see the long road back towards Robehomme) They were supposed to destroy the bridge within 2 hours of landing (01:00 – 01:30), but it took till 06:30 before the job was done. After, they occupied the area as ordered until June 7th, then re-joined the rest of the battalion.
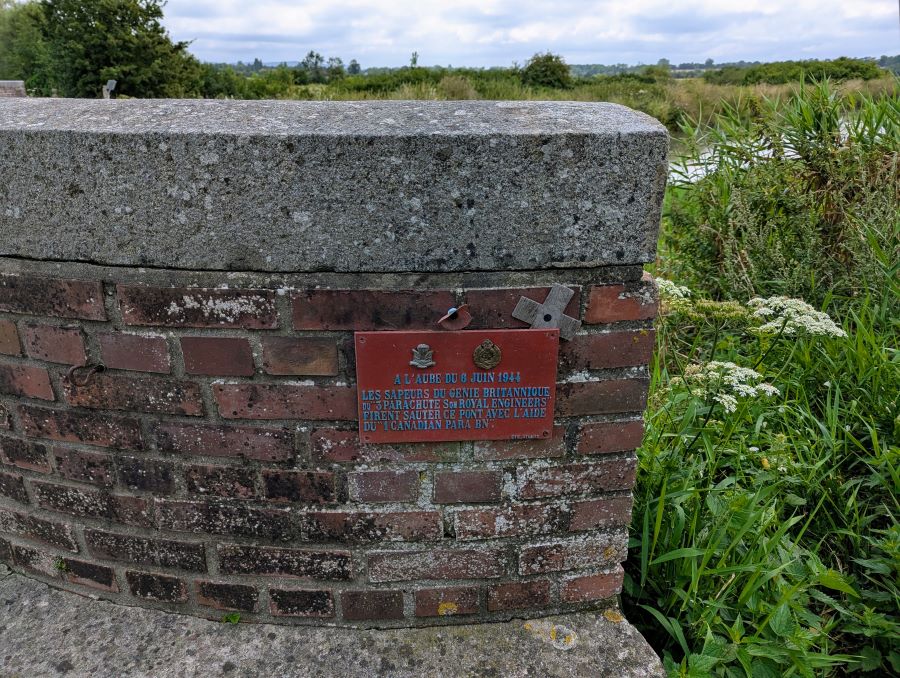
Varaville Bridge
(W3W: ///disclaims.hoods.enclave)
I don’t have a photo of the bridge (ran out of time, I’ll get one next time!), but this is a Google Streetview. Click on it to see more.
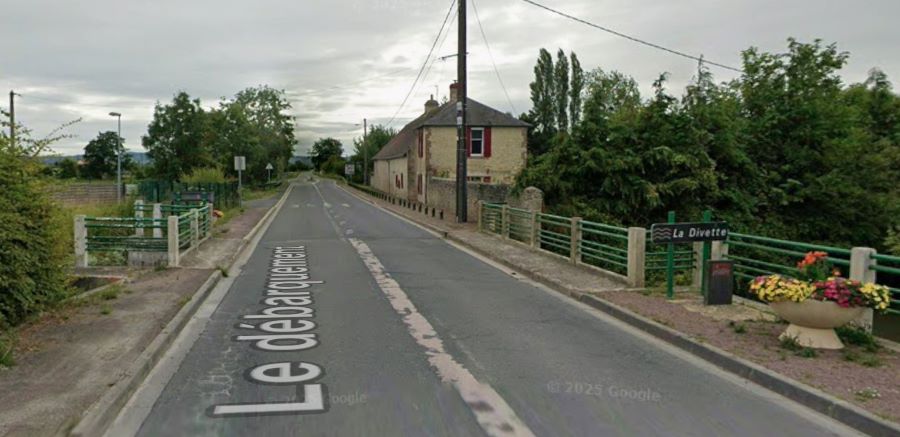
The small bridge on the outskirts of Varaville village crossed the Divette, an offshoot of the Dives. It was attacked by the 1st Canadian Parachute Battalion’s C Company led by Major McLeod. As with other teams that night, his men were badly scattered on landing and he was only able to gather around 30 troopers before assaulting Varaville, which turned out to be garrisoned with many more Germans than expected. They were part of Grenadier-Regiment 736 (716 Infanterie Division) who were both well entrenched and well equipped with a variety of weapons including mortars and a 75mm anti-tank gun. It was this gun that fired a shell into the first floor room of the Château de Varaville’s gate house killing McLeod and several others as they were observing the enemy positions.
The battle continued under Capt Hanson. Meanwhile a group led by Sergeant Davies managed to secure the approaches to the bridge from a different direction and, with the help of their 3rd Parachute Squadron Royal Engineer sappers, blew it up at 08:30.
With more Canadians joining the fight for Varaville as the morning wore on, the Germans were eventually forced to surrender at 10:00.
* The original memorial stelae at the west end of Horsa Bridge was supplemented last year (2024) with a new memorial marker on the other side of the road, in the shape of a Horsa glider silhouette. There is a riverside track at the east end of the bridge with a little space to park at (W3W) ///firmer.debt.crawler
** I thought I had written up the Merville Battery. I had, but for our D-Day guidebook, not for Mechtraveller! I’ll put that right as soon as I can.
*** the same problem befell US paratroopers at the other end of the beaches.
**** Part of the explanation for why so many paratroopers ended up at DZ N around Ranville and not DZ K at Touffréville is that one of the pathfinder teams destined for K was somehow dropped onto N, and without realising, they set up their radio beacons and markers drawing airborne troops to drop in the wrong area.
Declaration: I was on a self-organised, self-driving, research trip, with accommodation in Caen helpfully provided by Normandy Tourism.